Tutorial hexagon shabby style gift box as seen on blog
Requirements:
1. Cardstock
Main box colour (white)
4” X 12” and 4” X 7”
2. Lining
Alternative print eg soft stripes
4” X 12” and 4” X 7”
3. Side panels cardstock
6 panels (dark pink)
3 ¾ X 2 ¾ (6 pieces)
4. Side panels cardstock
6 pieces – 3 of each colour to match small print paper
3 ¾ X 2 ¾ NB Trim to fit between step 3 and step 5 sizes
5. Background print (two different small prints)
3 ½ X 2 ½ (6 pieces – 3 of each)
6. Base Cardstock (white)
Hexagon X 2 cut with my gypsy
One to fit inside as base liner
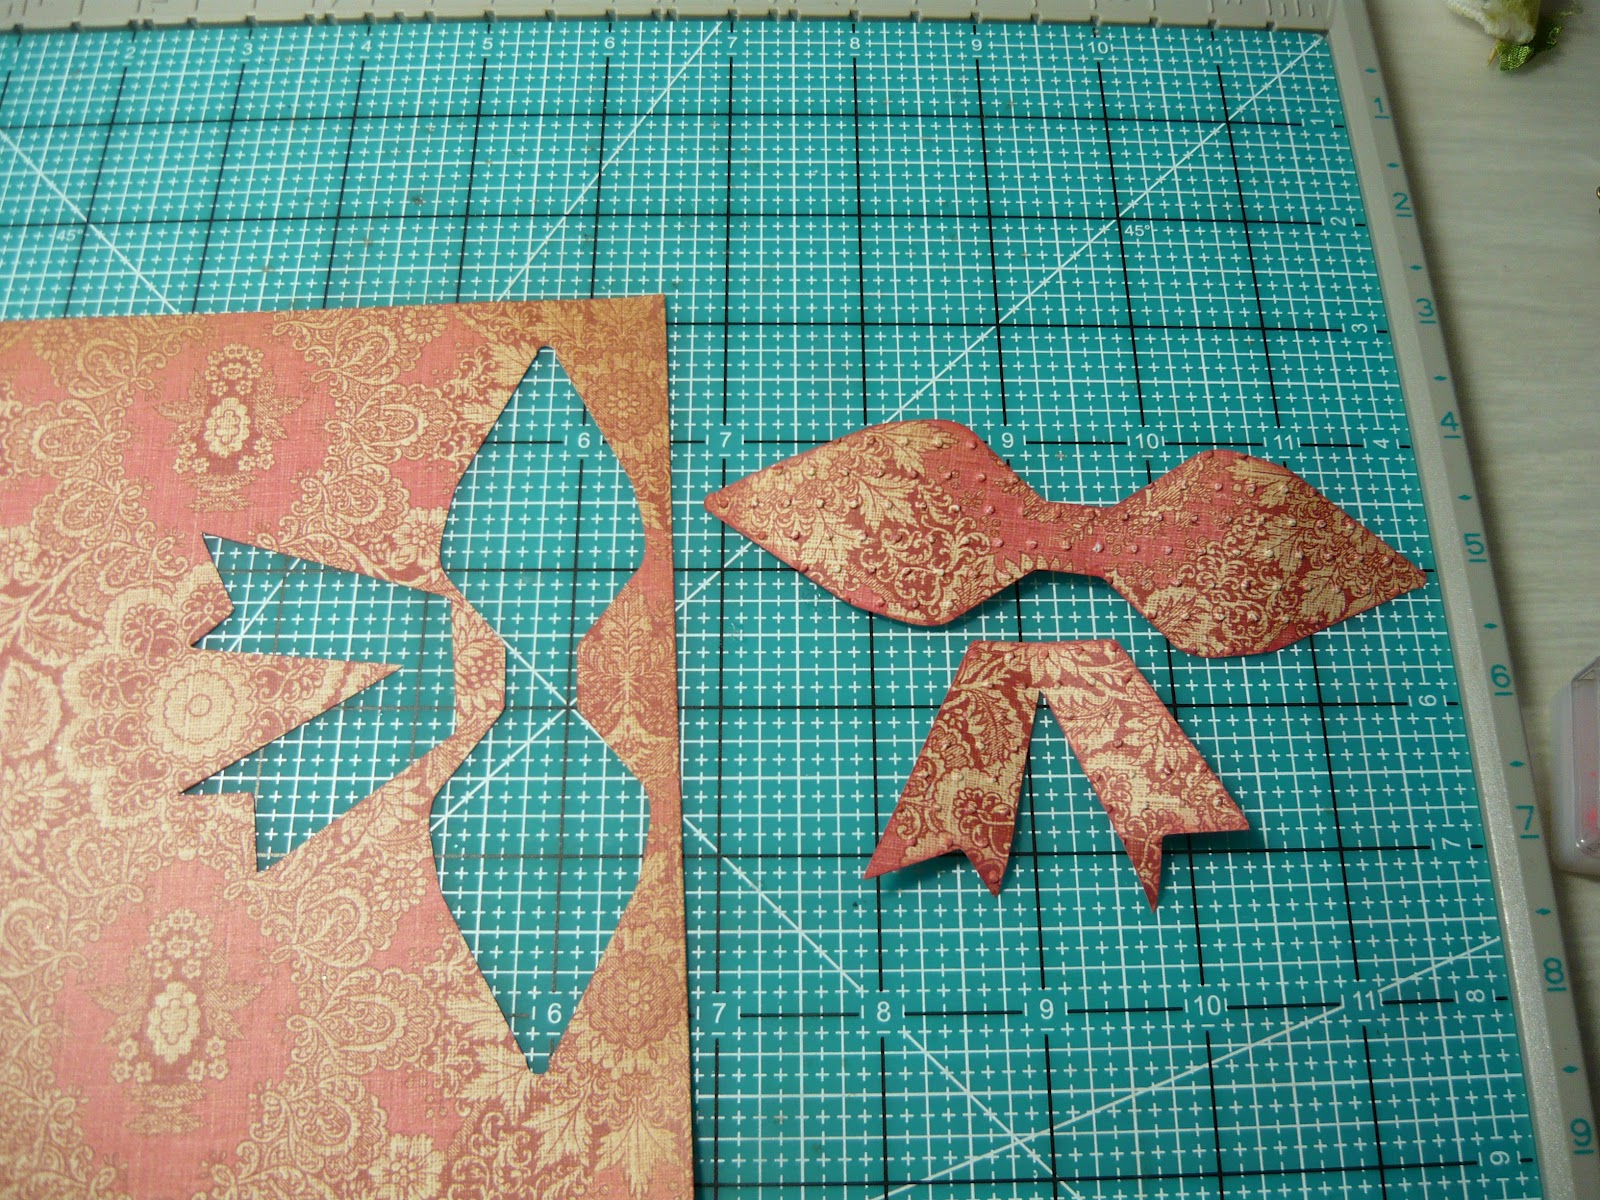
The other (larger) trim corners as per picture (3), score and fold to make box sides.
Also need
Assorted trims, lace, flowers, ribbons, bling, brads
Adhesive tape, glue or glue gun
Scorpal ideal
Directions:
· Score long piece of cardstock at every 3 inches
Score shorter piece of cardstock at 1/2inch, 3 ½ inch, 7 inch
Join together at one edge with overlap neatly on foldline, (as per picture 1.)
· Adhere first layer of cardstock (dark pink) panel to each of the six sides
· Adhere floral small print paper panels to matching base cardstock, (Alternate as per picture 2.)
· Adhere each set together
· Prepare and decorate chosen embellishments for each panel (eg teapot). Remember to add some bling and also emboss or ink as desired.
· Layer and adhere panels to sides of box (not joined at this stage)
· Adhere edging lace to top and bottom of box sides, make sure to fold edges as placing lace so its bends and sits neatly, overlap edge pieces (picure 4.)
· Adhere liner paper
· Join side pieces
· Place adhesive on underneath of folded hexagon edges and carefully glue into place (Picture 5.)
· Cut ribbon for hanging if desired, ensure length is adequate to glue ribbon across base of box for extra support. Glue ribbon in place up inside of box
· I added a brad at the base and top to further secure ribbon in place.
· Decorate sides where ribbon attached with flowers, ribbons etc as desired.
· I made a matching gift card and love the effect of the Tsukineko sparkle spritz I applied to all the pots!
· I like the idea of filling this with special teabags for a nice gift. Also would make a great Easter basket.
Please feedback, I would love to hear if this tutorial was helpfull or needs work...as I said its my first!!